Table of Contents
- Quick Answer
- Why Robot Vacuum Wheels Matter
- Common Movement Signs Owners Notice
- Safe Checks Before Assuming Something Is Broken
- Wheels, Sensors, and Navigation Are Related But Not the Same
- When Floor Transitions and Rugs Are Part of the Problem
- When Cleaning Is Not Enough
- What Not To Do
- How This Fits Into Regular Maintenance
- Frequently Asked Questions
- Final Takeaway
Quick Answer
If a robot vacuum is circling, dragging, or getting stuck, the wheels are a reasonable first place to check — but they are not the only possible cause. Manufacturer support guidance generally recommends pausing the robot, turning it over safely, checking for hair or debris around the wheel wells, and manually spinning each wheel to see if it turns freely and evenly. If a wheel still will not turn freely after a basic check, or the same error keeps repeating, that is the point to check your model’s manual or contact manufacturer support rather than continuing to try fixes on your own.
Why Robot Vacuum Wheels Matter
A robot vacuum’s wheels do more than move it forward. They carry the robot’s weight, absorb small bumps and floor-transition changes, and work together with the robot’s sensors and navigation system to keep it moving in a straight, predictable path. When people think about what could make a robot vacuum perform poorly, they often focus on suction power or brush condition. Wheels get less attention, but a wheel that is dragging, obstructed, or spinning unevenly can affect coverage and cleaning consistency just as much as a clogged filter can.
This matters for more than current owners troubleshooting a problem. Shoppers comparing models sometimes notice that a listing mentions wheel design, drive-wheel size, or threshold-climbing ability. Understanding what wheels actually do — and what a wheel problem usually looks like day to day — makes that kind of detail easier to interpret without needing to become a repair technician.
Common Movement Signs Owners Notice
Movement problems do not always look the same. The pattern of what the robot is doing can be a useful clue before you check anything physically.
Circling or drifting
A robot vacuum that repeatedly turns in tight circles, backs away from open floor space, or drifts off its expected path is not always a wheel issue. Official iRobot support documentation notes that this behavior can also come from dirty cliff sensors or from dark, black-colored flooring that the cliff sensors misread as a drop-off edge. In other words, circling can be a sensor-reading issue rather than a wheel issue, which is one reason it is worth checking sensors and wheels together rather than assuming a single cause.
Dragging or uneven movement
If one side of the robot seems to move more slowly than the other, or the robot pulls consistently to one side, that pattern points more directly at the wheels — for example, one wheel turning with more resistance than the other, or debris partly restricting one wheel but not the other. This is different from a robot that stops cleanly and displays an error code; dragging is often something you notice from behavior alone, before any error appears.
Getting stuck near rugs, thresholds, or clutter
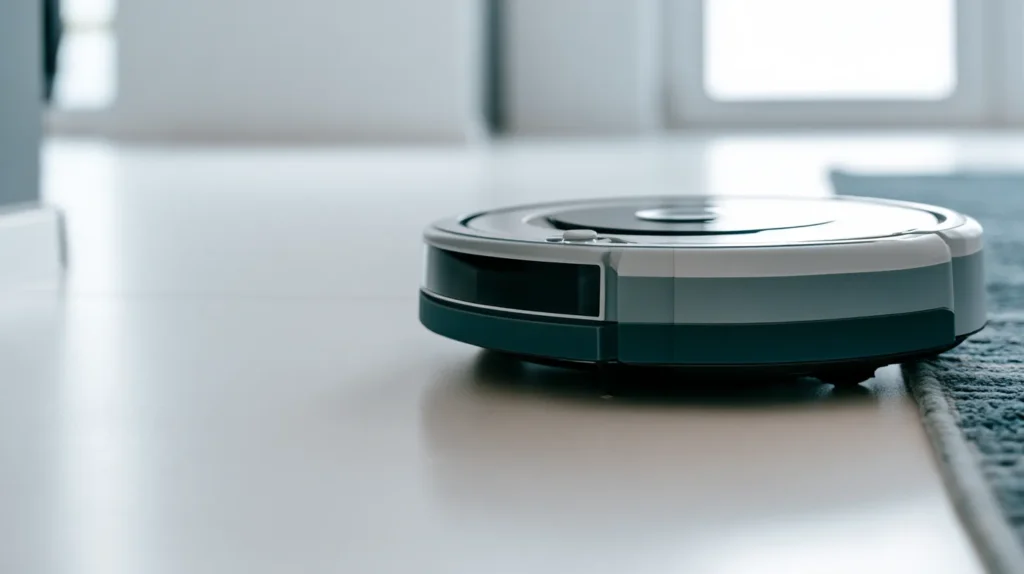
A robot vacuum that repeatedly stalls in the same spot — a rug edge, a room threshold, a loose cable, or a small object — may not have a wheel problem at all. It may simply be encountering a physical obstacle that is at or beyond what its wheels and drive system are designed to climb or push past. This kind of “stuck in the same place” pattern is worth noting separately from a wheel that is dragging everywhere, because the fix is often about the floor environment, not the robot.
Safe Checks Before Assuming Something Is Broken
The following checks reflect the kind of first steps manufacturer support documentation commonly recommends before assuming a wheel needs replacement. They are general and beginner-safe. Always confirm the exact steps for your model in its manual or official app, since disassembly limits and safe cleaning methods vary by brand and model.
Pause the robot and inspect visible wheel areas
Turn the robot off or pause the cleaning cycle, then turn it over on a soft, flat surface so you do not scratch the floor or the robot’s sensors. Look at the wheel wells — the recessed areas around each wheel — for anything visibly wrapped around the axle or lodged in the housing.
Look for hair, threads, dust, or small debris
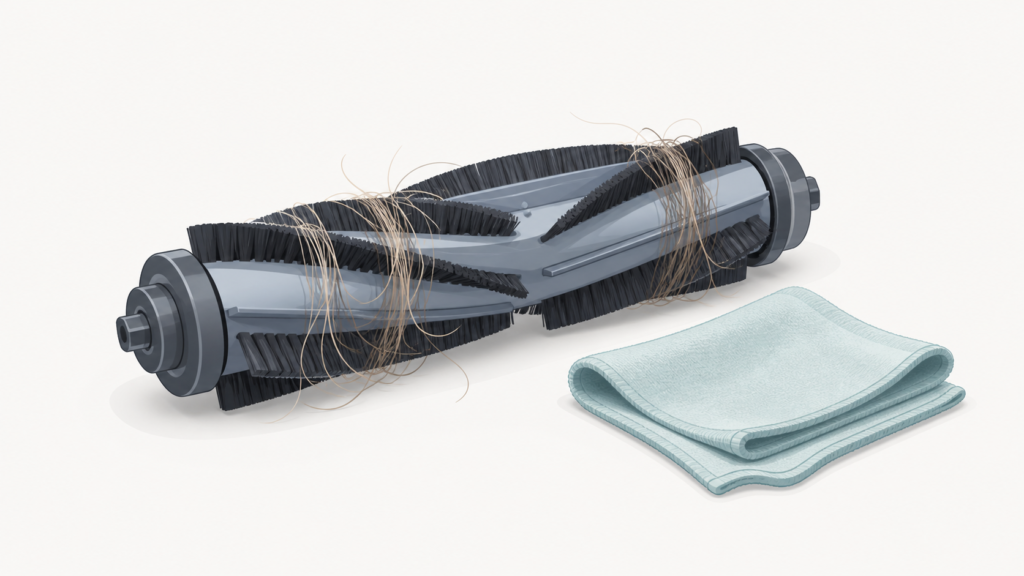
Hair, thread, string, and built-up dust are among the most commonly cited causes of a wheel that feels stiff or restricted, across multiple manufacturer support resources. Manually rotate each wheel by hand and compare how freely it turns. A soft brush, tweezers, or a can of compressed air can help remove debris from the wheel well without needing tools. On some models, the front caster wheel can be removed for a closer cleaning; check your manual before attempting this, since not every model is designed for user-level wheel removal.
Check the floor around the problem area
If the robot only struggles in one specific spot, look at the floor itself before assuming the wheel is at fault. Rug edges, transition strips between rooms, loose cords, and small objects can all interfere with a wheel’s ability to grip or roll smoothly. If the robot is fine everywhere else and only struggles in one location, the floor environment — not the wheel — is the more likely explanation.
Wheels, Sensors, and Navigation Are Related But Not the Same
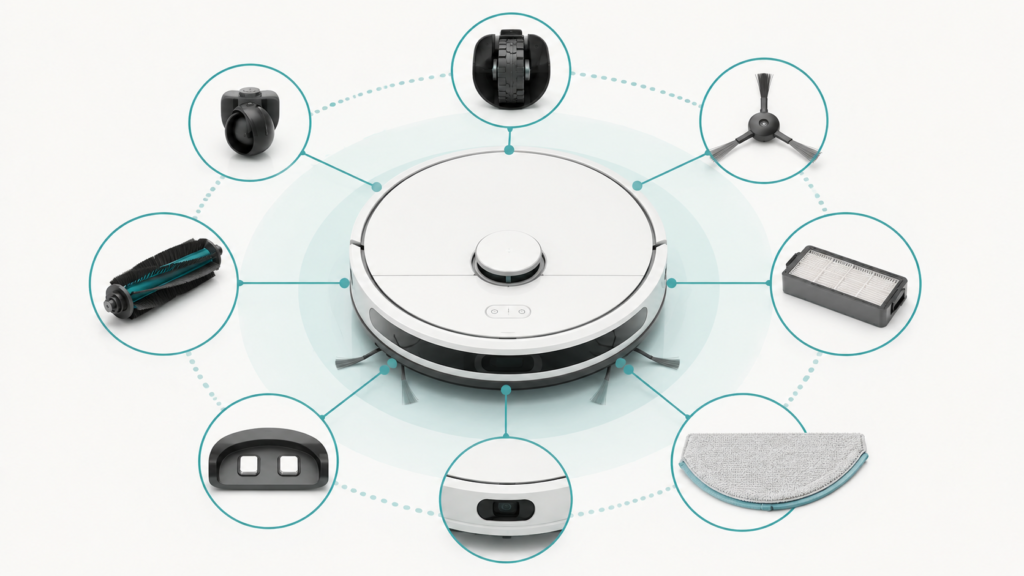
It is easy to lump “the robot isn’t moving right” into a single wheel problem, but wheels, sensors, and navigation are separate systems that happen to interact. A robot’s sensors help it detect obstacles, edges, and its position in a room; its navigation software decides where to go next; and its wheels are what actually carry out that movement. A dirty or blocked sensor can cause a robot to behave as if something is wrong with its movement — circling, hesitating, or reversing unexpectedly — even when the wheels themselves are completely clean and functional.
This is worth keeping in mind before assuming a wheel is the cause of every movement symptom. If your robot’s sensors need attention, that is a related but separate topic from wheel maintenance, and it is worth checking your model’s manual for sensor-cleaning guidance specifically rather than assuming a wheel-focused fix will resolve a sensor-related symptom.
When Floor Transitions and Rugs Are Part of the Problem
Not every “stuck wheel” moment is really about the wheel. Robot vacuums are generally designed to handle small floor-height changes, but there are limits, and those limits vary by model. A thick rug edge, a raised threshold between rooms, or a loose cord can be enough to stall a robot even when its wheels are in good condition.
If a robot consistently struggles at the same threshold or rug edge, some manufacturers’ support content suggests options like a threshold ramp, securing loose rug edges, or setting a keep-out or no-go zone in the robot’s app so it avoids the trouble spot rather than repeatedly attempting and failing to cross it. These are floor-environment adjustments, not wheel repairs, and they can resolve a “stuck” pattern without touching the robot’s hardware at all.
When Cleaning Is Not Enough
A basic wheel-area cleaning check resolves many day-to-day movement complaints, but it does not resolve everything, and manufacturer support documentation is consistent on this point: if a wheel still does not turn freely after cleaning, or if the same wheel-related error keeps recurring after you have addressed visible debris, that is a signal to stop troubleshooting on your own. At that point, the appropriate next step is checking your model’s manual for model-specific guidance or contacting the manufacturer’s official support channel, rather than attempting further disassembly.
This is also the point where it helps to separate a cleaning issue from a possible part-replacement issue. For general context on how that distinction tends to work, see how often robot vacuum parts typically need replacement.
This article does not diagnose drive motors, encoders, gears, or other internal components, because that kind of diagnosis depends on the specific model and is outside what a visual, beginner-level check can safely confirm.
What Not To Do
- Do not force a wheel that will not turn; forcing it can cause more damage than the original issue.
- Do not disassemble internal components beyond what your model’s manual describes as a user-level step.
- Do not assume a wheel issue is universal across brands or models; drive systems and clearances differ.
- Do not assume a single cleaning attempt has permanently solved the issue if the symptom returns.
- Do not use liquids, oils, or lubricants on wheel components unless your manual specifically approves it.
How This Fits Into Regular Maintenance
Wheel checks are best treated as one part of routine ownership rather than a one-time emergency fix. They sit alongside brush, filter, sensor, and charging-dock checks as the kind of light maintenance that helps a robot vacuum keep performing consistently over time. If you are not sure how wheel checks fit into a broader maintenance routine, it is worth reviewing a maintenance schedule for what to check and when. If you are trying to figure out whether a movement issue is a maintenance problem rather than something more serious, a general troubleshooting approach is a useful starting point before deciding on next steps.
Frequently Asked Questions
Does a robot vacuum wheel problem always mean I need a replacement part?
Not necessarily. Many wheel-related movement issues are caused by debris, hair, or a floor obstacle rather than a failed component. A basic cleaning check resolves a meaningful share of these cases. If a wheel still will not turn freely after cleaning, that is when replacement becomes a realistic possibility, and it is worth confirming with your model’s support resources rather than assuming.
Is it safe to remove a robot vacuum wheel myself?
It depends on the model. Some robot vacuums are designed so an owner can remove and clean the front caster wheel; others are not intended for user-level wheel removal. Check your specific model’s manual before attempting this, since forcing a wheel that is not designed to be removed can cause damage.
Why does my robot vacuum circle instead of moving in a straight line?
Circling can come from more than one cause. It is sometimes related to a wheel, but manufacturer support documentation also ties this behavior to dirty cliff sensors or dark flooring the sensors misread as an edge. If cleaning the wheels does not change the behavior, checking the sensors is a reasonable next step.
Should I buy a new robot vacuum if the wheels keep getting stuck?
Not as a first response. A recurring stuck-wheel pattern is often tied to a specific rug, threshold, or cord rather than the robot itself. Addressing the floor obstacle, or using a keep-out zone if your model supports one, often resolves the pattern without needing a new robot. This article does not recommend a specific replacement model or brand.
How often should I check my robot vacuum’s wheels?
There is no single interval that applies to every brand and model. As a general habit, checking the wheel area whenever you notice unusual movement, or during the same routine visit when you clean the brushes and filter, is a reasonable approach. Your model’s manual is the most reliable source for any brand-specific recommendation.
Final Takeaway
Uneven movement, circling, or a robot that seems to get stuck in the same spot is worth investigating calmly rather than assuming the worst. A short, visible check — pausing the robot, looking at the wheel wells, spinning each wheel by hand, and considering the floor around the problem spot — resolves many everyday cases. When a wheel still will not turn freely, or the same issue keeps repeating after a basic check, that is the signal to stop and consult your model’s manual or official support rather than continuing to troubleshoot alone.