Table of Contents
- Quick Answer
- What Robot Vacuum No-Go Zones Actually Mean
- How a Robot Vacuum Detects and Respects a No-Go Zone
- Setting Up a No-Go Zone
- Why a No-Go Zone Is Not Always Perfectly Accurate
- Why a No-Go Zone Might Stop Working
- Why No-Go Zones Are Not a Substitute for Physical Barriers Around Dangerous Areas
- Common Mistakes Beginners Should Avoid
- A Simple Checklist Before You Rely on a No-Go Zone
- Frequently Asked Questions
- Final Takeaway
Quick Answer
Robot vacuum no-go zones are boundaries you draw on the app’s map that tell the robot to avoid a specific area during cleaning. They work by saving that boundary to the robot’s stored map, which the robot then checks against its own sensors as it moves. No-go zones are a genuinely useful convenience feature, but they are software-based — official manufacturer guidance recommends against relying on them to block off dangerous areas, since a map problem or sensor issue can cause a zone to be skipped.
Spec sheets and app menus throw around a few different terms for the same general idea — no-go zone, virtual wall, virtual boundary — and it’s not always obvious how they differ, or how reliable any of them actually are. This guide explains what a robot vacuum no-go zone is, how it technically works, and what beginners should understand about its limits before treating it as a hard barrier.
What Robot Vacuum No-Go Zones Actually Mean
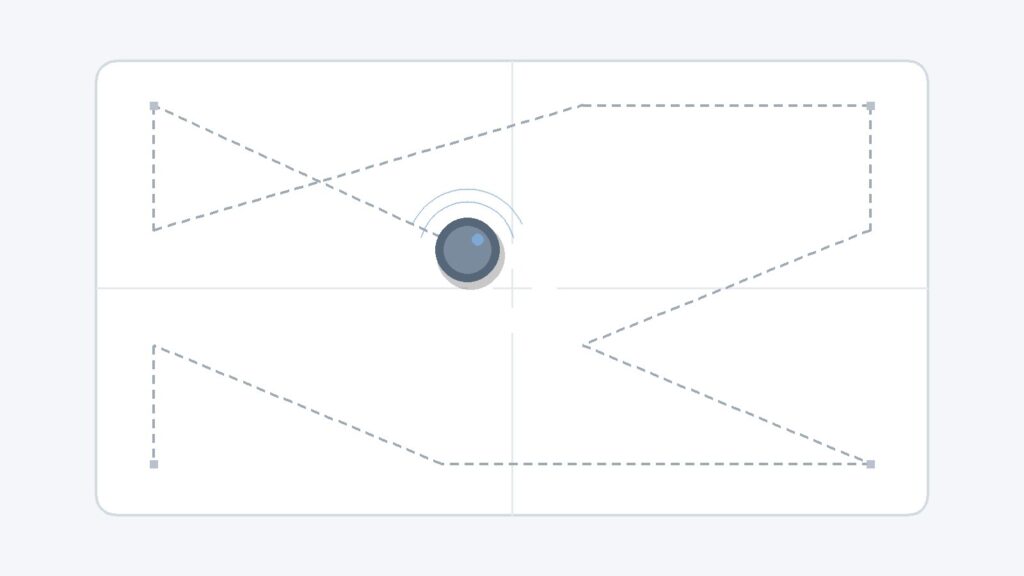
At a basic level, a no-go zone is a custom-shaped area you mark on your robot vacuum’s map, usually through the manufacturer’s app, that tells the robot “don’t clean here.” It’s one of a small family of related features that manufacturers sometimes label slightly differently.
No-Go Zone vs. Virtual Wall vs. Physical Boundary Strip
These three terms describe related but distinct approaches:
- No-go zone: a flexible, custom-shaped area drawn directly on the digital map — useful for irregular spaces like the area around a pet bowl, a cluster of cables, or a delicate rug.
- Virtual wall: typically a straight digital line rather than a custom shape, used to block a doorway or divide one room from another on the map.
- Physical boundary strip: a magnetic strip placed directly on the floor that the robot’s sensors detect and avoid, independent of the digital map entirely.
The first two are both software features that live inside the robot’s saved map. The third is a physical object that works regardless of what the map says. That distinction matters more than it might seem, and it comes up again later in this guide. Mopping models raise a related version of this same question — see What Robot Vacuum Mop Features Actually Do for how physical and virtual boundaries are also used to keep a mopping robot off carpeted areas.
How a Robot Vacuum Detects and Respects a No-Go Zone
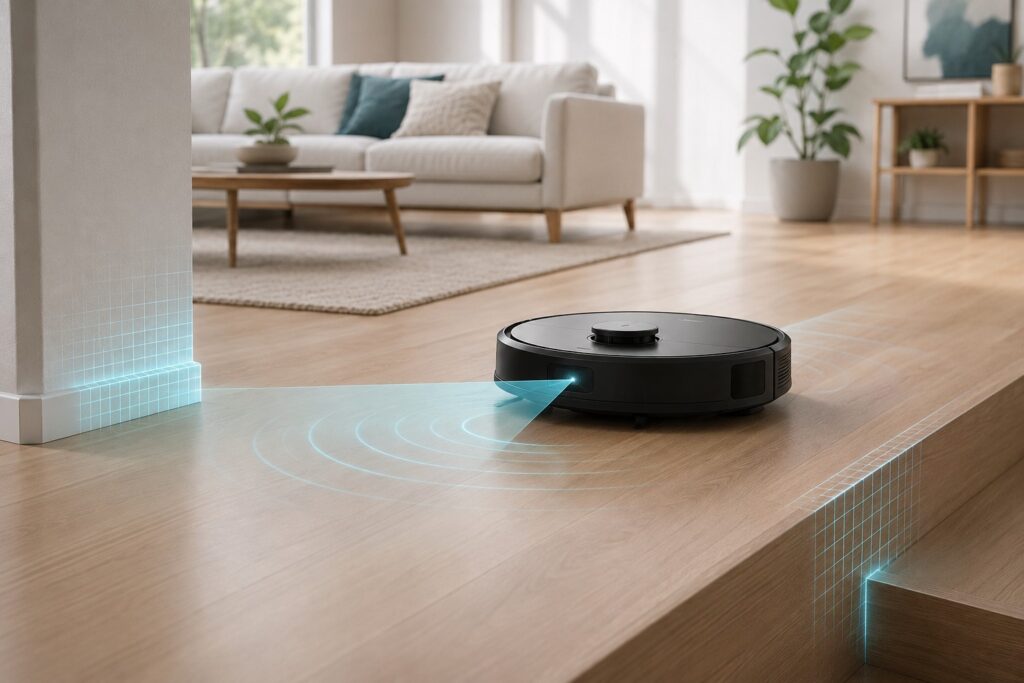
Once you draw a no-go zone in the app, that boundary is saved as part of the robot’s stored floor map — not as a separate, independent instruction. During a cleaning run, the robot references that same map continuously to figure out where it is and where it’s allowed to go. When it approaches the edge of a no-go zone, it’s generally designed to either stop short of the boundary or reroute around it, rather than driving directly through it.
This means a no-go zone’s reliability is closely tied to the robot’s overall mapping and sensor system — the same system used for regular room navigation. There isn’t a separate, independent safety mechanism at work; the boundary is only as good as the map and sensors reading it in that moment.
For more on how the underlying mapping process works, see How Robot Vacuum Mapping Works.
Setting Up a No-Go Zone
The exact menu layout varies by app and brand, but the general process is broadly similar across most mapping-capable robot vacuums:
- Make sure the robot has completed at least one full mapping run of the area, so a saved map exists to draw on.
- Open the app’s map editing view.
- Select the no-go zone (or equivalent) tool and draw the shape over the area you want to exclude.
- Save the zone, and confirm it appears correctly on the saved map.
- Run a cleaning cycle and check that the robot actually avoids the marked area as expected.
Most apps also limit how many zones or boundaries you can save per map. It’s worth treating this as a limited resource — reserving no-go zones for areas that genuinely need them, rather than marking off every minor inconvenience, since a large number of overlapping zones and boundaries can affect how efficiently the robot plans its cleaning path.
Why a No-Go Zone Is Not Always Perfectly Accurate
A no-go zone is unlikely to be pixel-perfect in practice. Some drift near the boundary line is commonly reported by users, and the exact amount can vary depending on the specific robot’s sensors, how recently the map was built, and the layout of the room. Newer models with more advanced sensor systems are generally described as more precise than older or budget models, though SmartCleanLab has not independently measured or verified specific accuracy figures for any model, and none are cited here.
The practical takeaway is simple: treat a no-go zone as “generally avoid this area,” not as a millimeter-precise fence.
Why a No-Go Zone Might Stop Working
A no-go zone that worked perfectly last week can sometimes fail without warning. A few commonly reported causes, corroborated across manufacturer and independent troubleshooting sources, include the following.
Map Mismatch or an Outdated Active Map
If the robot loads the wrong saved map, or fails to correctly recognize which floor or area it’s in, it has no way to reference the zones that were drawn on a different map. Checking that the correct map is active before a cleaning run is a reasonable first step if a zone seems to be ignored.
Dirty or Obstructed Sensors
Since no-go zone detection relies on the same sensors used for general navigation, a dirty or blocked sensor can affect the robot’s ability to recognize where it actually is relative to the boundary. Gently wiping sensors with a dry or slightly damp microfiber cloth is a commonly recommended, low-risk first check.
Lighting, Reflective Surfaces, and Environmental Changes
Uneven lighting, mirrors, or other reflective surfaces can interfere with camera- or laser-based positioning, which in turn can affect how reliably a saved boundary is recognized. Rearranged furniture or other changes to a room can also invalidate parts of a previously accurate map.
Starting a Clean Away From the Dock
On many models, starting a cleaning cycle from the dock gives the robot the clearest reference point for confirming its position on the map. Starting a cycle from a random location elsewhere in the home can make it harder for the robot to correctly relocalize itself — and, by extension, to correctly recognize where its saved zones are.
If a no-go zone repeatedly fails after trying these general checks, checking your specific model’s manual or contacting official manufacturer support is a reasonable next step — this guide offers general first checks, not a guaranteed fix or a substitute for official support.
Why No-Go Zones Are Not a Substitute for Physical Barriers Around Dangerous Areas
This is worth calling out directly, because it’s easy to assume a digital boundary is just as reliable as a physical one. According to official eufy support documentation, users should not rely on an app-based no-go zone or virtual boundary to block off dangerous areas. Instead, official guidance recommends placing a physical magnetic boundary strip around fireplaces and other hazardous areas. The stated reason is that a no-go zone can become disabled due to map invalidation caused by environmental changes — in other words, the same everyday factors described in the section above (a moved piece of furniture, a failed relocalization, a map that didn’t update correctly) can silently turn off a software boundary that you’re counting on.
A physical barrier doesn’t depend on the map being correct or the sensors reading it accurately in that moment — it simply blocks the physical path, which is why official guidance treats it as the more dependable option for genuinely hazardous areas. A no-go zone remains a useful, convenient feature for everyday areas like a pet bowl, delicate rug edge, or cable cluster — the caution specifically applies to areas where a mistake could cause real damage or danger.
Common Mistakes Beginners Should Avoid
- Assuming a no-go zone is a hard, guaranteed barrier. It’s a software boundary with real-world limitations, not a physical wall.
- Using a no-go zone instead of a physical strip around a genuinely hazardous area, such as a fireplace, based on official guidance discussed above.
- Creating a large number of overlapping or unnecessary zones, which can affect cleaning efficiency without adding meaningful benefit.
- Assuming a zone that worked once will always keep working without occasionally checking that it’s still active on the current map after any household changes.
- Not checking which map is active in multi-floor or multi-map households before assuming a zone has failed entirely.
A Simple Checklist Before You Rely on a No-Go Zone
- Confirm the robot has a complete, current map of the area before drawing a zone.
- Draw the zone with some margin, rather than tracing it exactly against an object’s edge, to account for normal drift.
- Avoid creating more zones than genuinely necessary.
- Re-check zones after any furniture rearrangement or major room change.
- For areas where a mistake could cause damage or danger, use a physical boundary strip instead of, or in addition to, a software no-go zone.
- If a zone repeatedly fails after basic checks, consult your model’s manual or official support rather than assuming it’s a one-time glitch.
Frequently Asked Questions
Is a no-go zone the same as a virtual wall?
They’re closely related but not identical. A no-go zone is typically a custom-shaped area, while a virtual wall is more often a straight line used to block a doorway or divide a space. Some brands use the terms somewhat differently, so it’s worth checking your specific model’s documentation.
Can I use a no-go zone to keep my robot vacuum away from a fireplace?
Official manufacturer guidance (from eufy) specifically recommends against relying on a software no-go zone for genuinely dangerous areas like fireplaces, and suggests a physical magnetic boundary strip instead, since a digital zone can be disabled by map problems.
Why did my robot vacuum cross a no-go zone I set up?
Common, frequently reported causes include an outdated or mismatched active map, dirty sensors, poor lighting or reflective surfaces, or starting the cleaning cycle away from the dock. See the “Why a No-Go Zone Might Stop Working” section above for more detail.
Do all robot vacuums support no-go zones?
No. This feature generally requires a robot with persistent, app-based mapping. Budget or random-path models without a saved map typically have nothing for a no-go zone to attach to. If mapping support is a priority, it’s worth checking for explicitly before buying — see our robot vacuum buying guide or our full mapping vs. no mapping comparison for the broader set of factors worth comparing.
How accurate are no-go zones?
Not perfectly precise. Some drift near the boundary is commonly reported, and it can vary by model and sensor quality. Drawing a zone with some extra margin, rather than tracing an object’s exact edge, is a reasonable practical habit.
Final Takeaway
A no-go zone is a genuinely useful feature for keeping a robot vacuum away from everyday problem spots — but it’s a software boundary tied to the robot’s map and sensors, not an independent physical barrier. Understanding how it actually works, why it can occasionally fail, and why official guidance specifically recommends physical strips for genuinely hazardous areas makes it much easier to use the feature with realistic expectations rather than assuming it will behave like a solid wall every time.